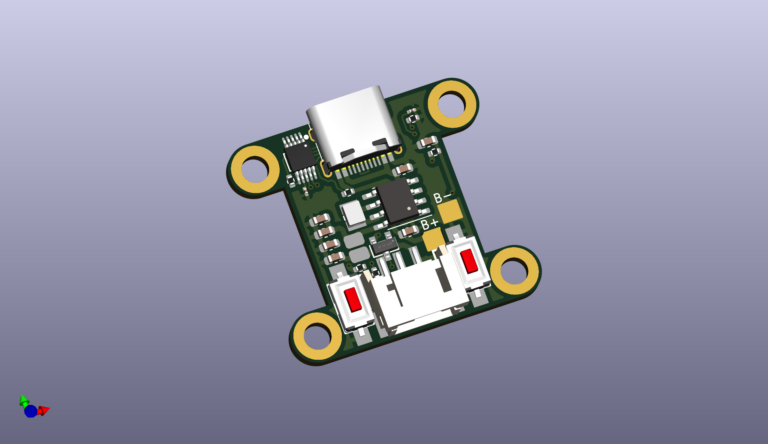

The idea started from pretty cool lamps provided by STLFlix company. I thought that the idea of lamps was really great, but there was a room to improve. The original model was using some really weak battery, and some led modules that are one color. I can do better. That started a journey of making a pcb that would run on WLED software (https://kno.wled.ge), use WS2812B led's and custom PCB on ESP12-f module that was supplying 5v at 2A max. So I quickly hopped on to my CAD of choice Onshape and started drawing a PCB layout (adjusting models was not in my head at that point).
After quick couple hours I had a basic sketch of the pcb ready:
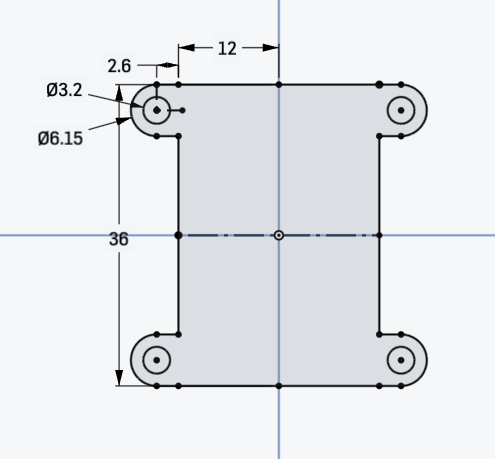
That was the easiest part. Next on the list was to choose parts for electronics. I've started from the hardest one to pick. I needed something that would:
After couple hours of searching I've found my candidate that meets all criteria in single chip! The FM5324GA Battery Management IC.
Having that sorted out, I've started to pick rest of the components for the pcb. The choice of esp12 was easy since it has everything that I need and also was widely used in other electronics designs. 3.3v regulator was also easy I needed something that would provide 500mA of power for esp and programming chip. This is where the hard part starts.
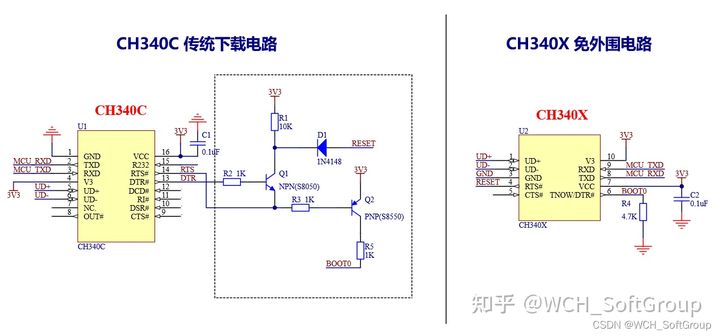
I've opted to use ch340 chip to program the esp12-f since price of those chips is really great compared to some ftdi solutions. The issue is that I want the programming to be as easy as possible so the chip would need to self reset and self program like nodemcu for example. The entire family of ch340 chips is using external transistors to switch the boot / reset lines of the esp because they're using 5v logic level. I quickly realised that there is no way to have external transistors on such small PCB. There was one chip in the ch340 family that was really promising, since it was not requiring any transistors and was operating on the 3.3v logic level. Meet ch340x the one of the best (in my opinion) chips for programming esp modules! The programming schematic was quite easy to reproduce:
Having that sorted out I've started to make entire schematic in my pcb tool of choice: kicad. It's free and awesome to work with. I know that the altium designer is way better tool for the job but it costs a fricking kidney! After another couple hours I was presented with beautiful schematic:
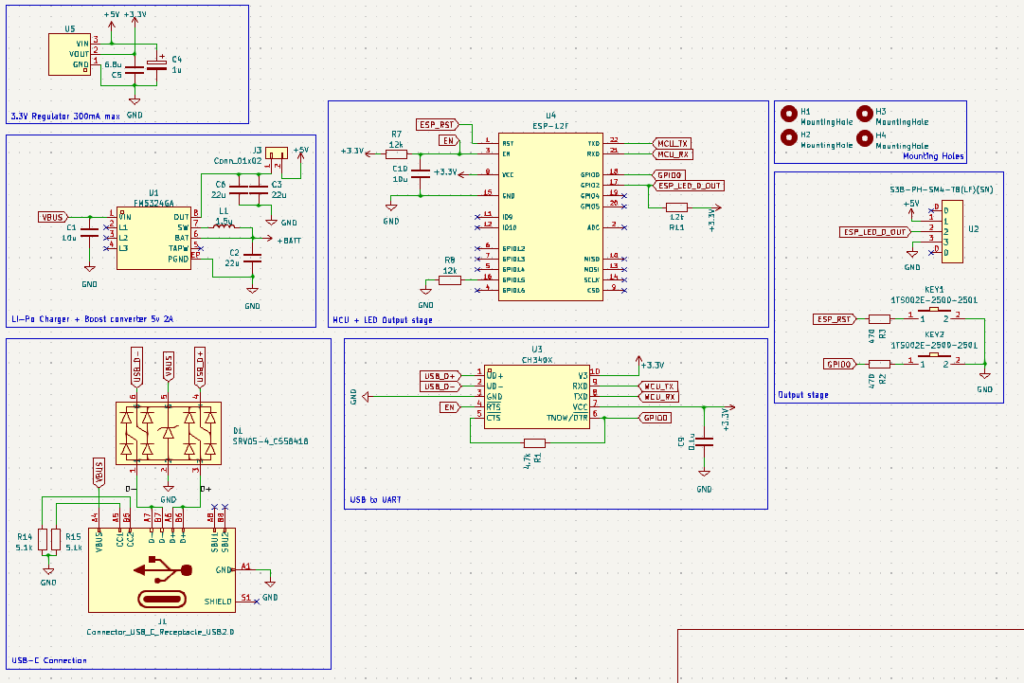
I've verified the connections and couple other things. Everything looked good so I've started to make the pcb layouts. I don't want to be boring you with details so I'll jump straight to pcb. This is how it came out:
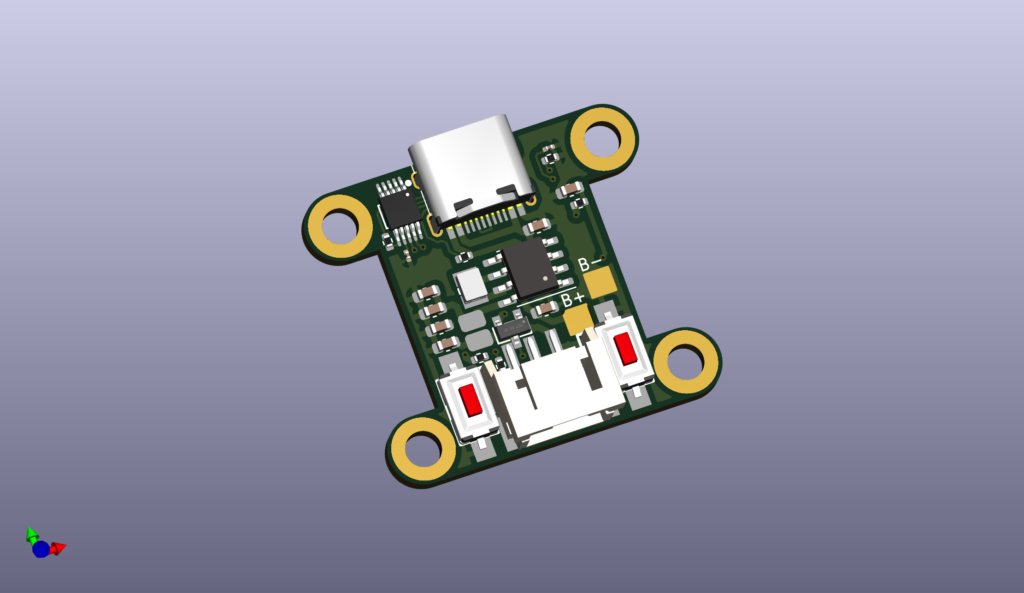
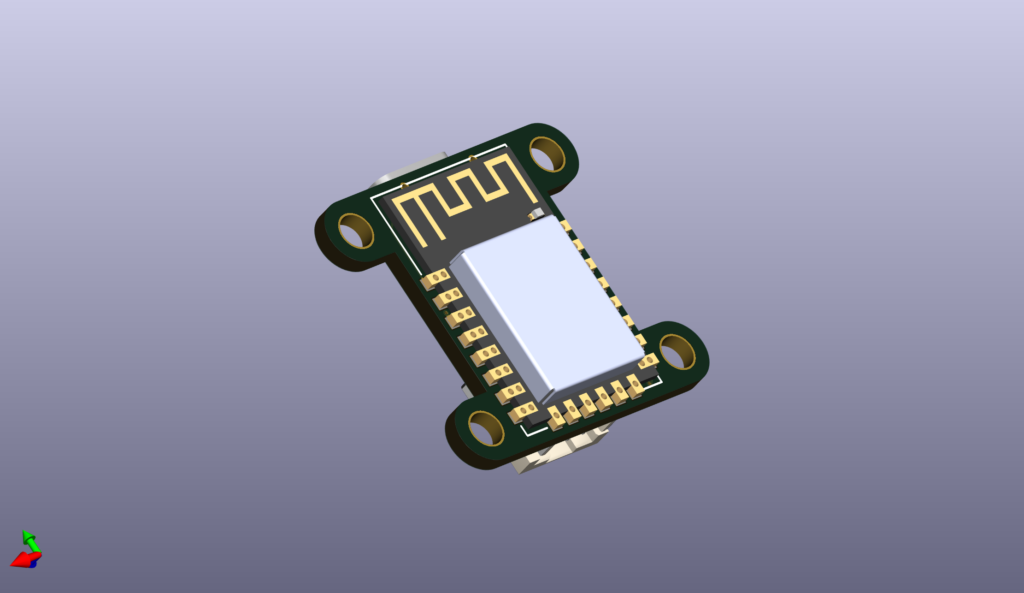
I took a very long time to squash everything onto this very small board, but in the end I've made it! The only thing left was to verify once again that everything will work and order the boards along with all components needed.
The day has arrived! The pcb's were at my home and I was ready to make them a reality. I was little overwhelmed with amount of components, but what the heck. I can manage that!
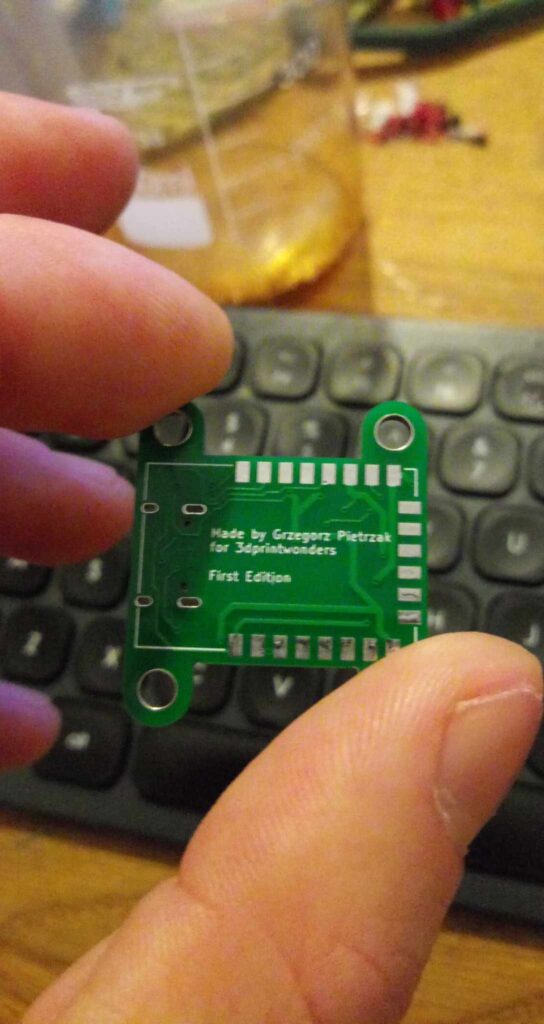
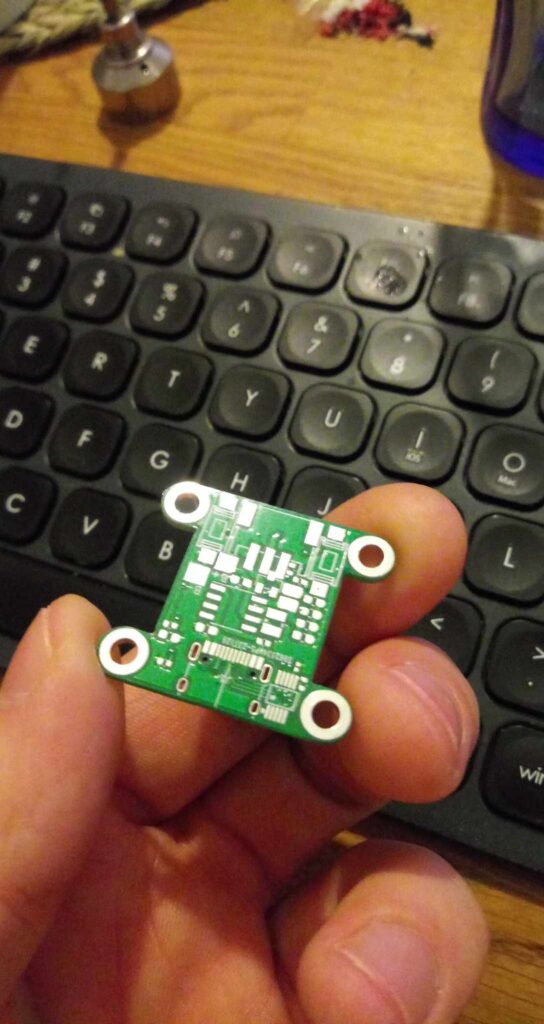
This was my first pcb of that small size consisting of really bleeding edge technologies. I've quickly (well it took 3h to assemble first one haha) started to populate the board and I've fired it up!
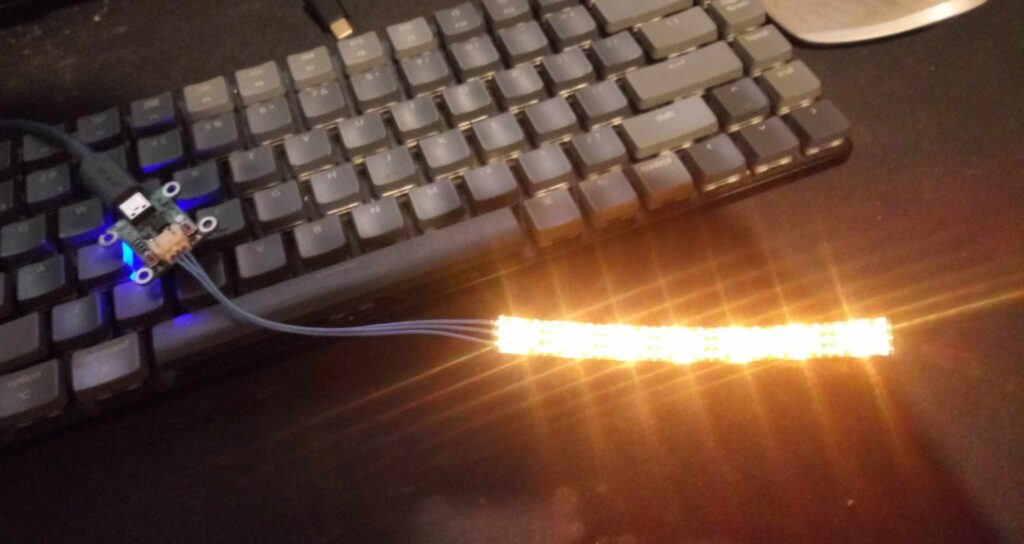
It worked! And I was able to successfully program / manipulate it via wled interface! Now it was time for making changes to the models of the lamps to fit the pcb's in. It was a hard task, since none of the models were made water tight and had a ton of vertex blobs that resulted in massive file sizes. I was able to cut down 90% of the models weights thanks to deleting the vertex blobs and other improvements. In the end the models were lighter and optimal for manipulation in CAD. This is how I was able to make the changes to lamp models:
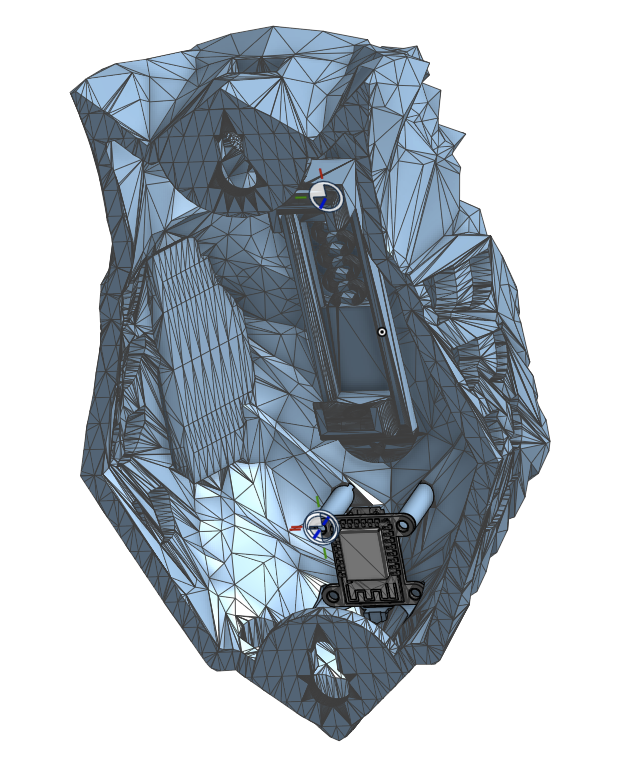
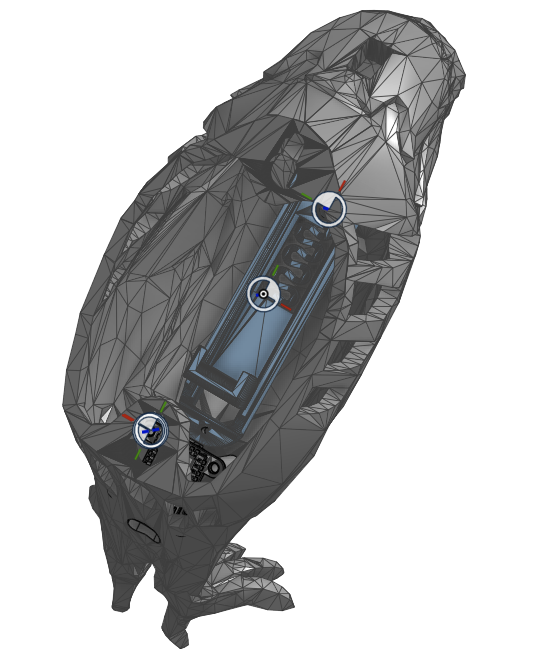
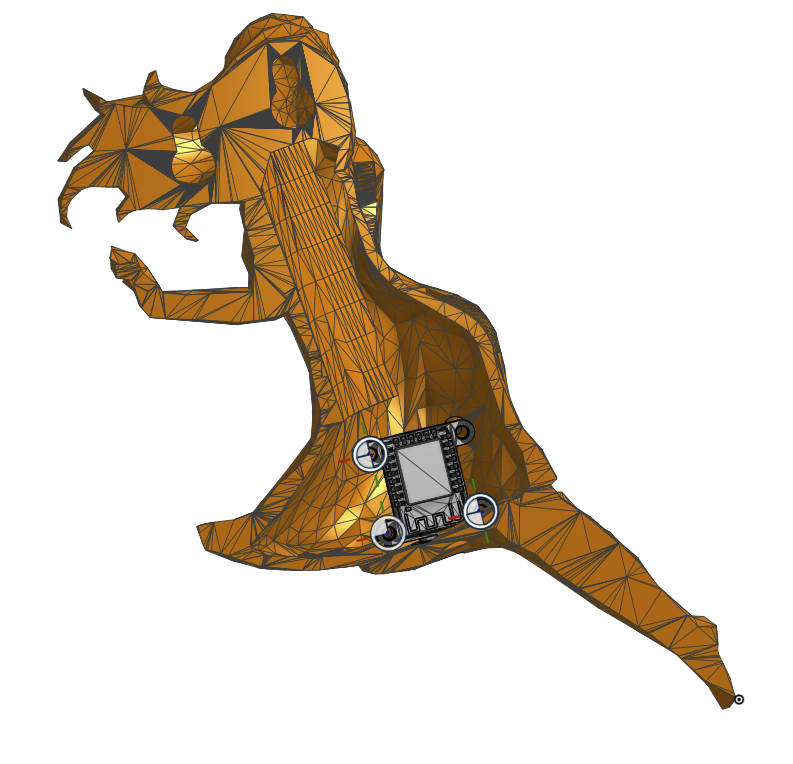
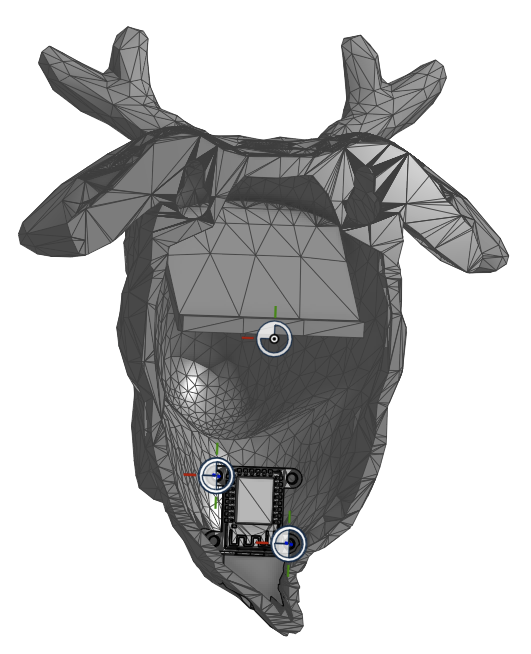
Every lamp got a pcb and 3d printed battery holster that was holding 18650 inside of it. That way the lamp was way brighter, had more energy capacity and the best part was that it was smartphone controlled thank to wled! I'll post photos how it looks when I'll find some on my pc haha. For now let's say that I'm so in love with those lamps that I'm using them in every room that I can.
Thanks for reading this blog. It means a lot to me 🙂